[Next.js] Creating a card component with 3D hover effect
![[Next.js] Creating a card component with 3D hover effect](/_next/image?url=https%3A%2F%2Fcdn.hashnode.com%2Fres%2Fhashnode%2Fimage%2Fupload%2Fv1724773294750%2Fb34cf129-58ca-4cf8-be99-75bbbc1a20c2.png&w=3840&q=75)
T
Student developer exploring Next.js, React, React Native & Tailwindcss. Solid in HTML & CSS. Passionate about building web/mobile apps. Always eager to learn🎯!
Search for a command to run...
Student developer exploring Next.js, React, React Native & Tailwindcss. Solid in HTML & CSS. Passionate about building web/mobile apps. Always eager to learn🎯!
No comments yet. Be the first to comment.
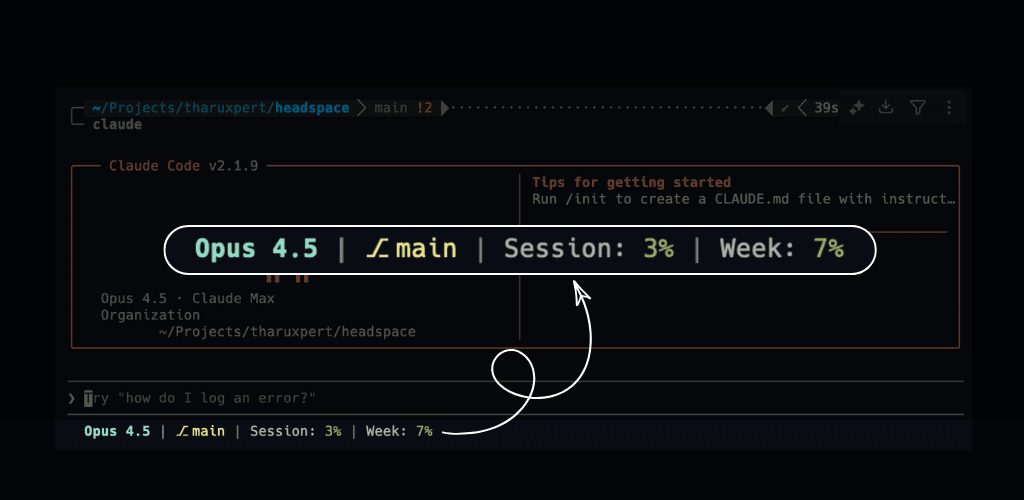
Introduction I developed a CLI tool called ccstatus that displays actual session usage directly in the Claude Code status line. This enhancement allows users to view their session metrics without needing to manually type "/status", providing a more s...
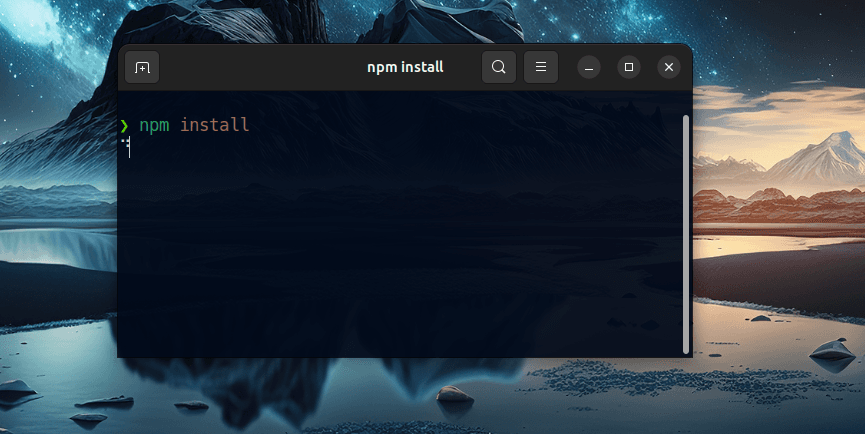
In today’s article, we will be thoroughly exploring the steps to resolve the common issue where npm install hangs or gets stuck. This problem can be quite frustrating for developers, as it interrupts the workflow and delays project progress. There ar...
How to Fix the Too Many Re-Renders Error in Next.js
![Resolving [Next.js] Error: Too Many Re-Renders](/_next/image?url=https%3A%2F%2Fcdn.hashnode.com%2Fres%2Fhashnode%2Fimage%2Fupload%2Fv1731352564929%2Fd337c016-9fda-477f-8d9e-6327de2935b5.png&w=3840&q=75)
As the title suggests, today we will delve into the process of generating an APK file from your React Native code. This guide is designed for those who have created their projects using Expo, and we will use Expo EAS Build(Expo Application Service) t...
![[Expo] Convert Your React Native Code to an Android APK : A Detailed Process](/_next/image?url=https%3A%2F%2Fcdn.hashnode.com%2Fres%2Fhashnode%2Fimage%2Fupload%2Fv1729877794570%2Fb308207e-b464-434d-a46c-7621fb28fecc.jpeg&w=3840&q=75)
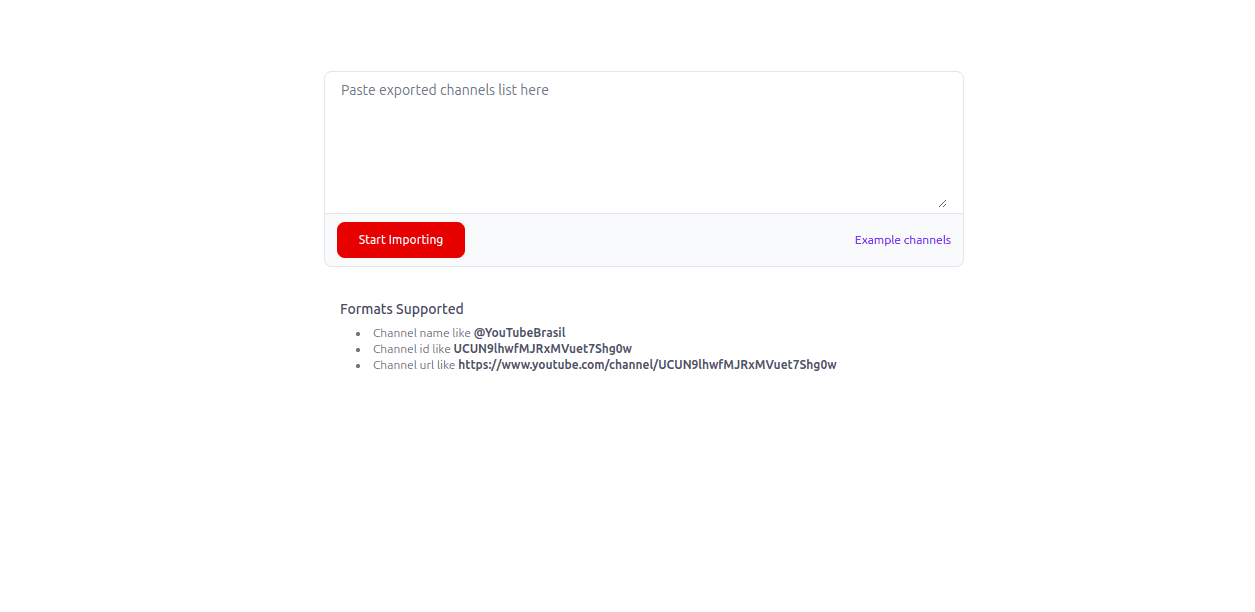
In this article, I will provide a comprehensive guide on how to export your YouTube subscriptions from one account and then import them into another account of your choice. This process involves several steps to ensure that all your favorite channels...
In today's article, we will dive deep into the process of creating a card component with an impressive 3D hover effect, as demonstrated in the video above.
First we need to create a Next.js project using npx create-next-app . Next, we need to create the Card.jsx component, which will be placed inside the ./app/components/ folder. This component will be responsible for rendering the card and applying the 3D hover effect. Below is my projects's folder structure,

Here's the complete code for the card component
"use client";
import { useState, useRef } from "react";

const Card = () => {
  const [mousePos, setMousePos] = useState({ x: 0, y: 0 });
  const cardRef = useRef(null);

  const handleMouseMove = (e) => {
    const rect = cardRef.current.getBoundingClientRect();
    const x = ((e.clientX - rect.left) / rect.width - 0.5) * 2;
    const y = ((e.clientY - rect.top) / rect.height - 0.5) * -2;
    setMousePos({ x: x * 15, y: y * 15 });
  };

  const handleMouseLeave = () => {
    setMousePos({ x: 0, y: 0 });
  };

  return (
    <section className="cursor-pointer group perspective-100  mt-28">
      <div
        ref={cardRef}
        onMouseMove={handleMouseMove}
        onMouseLeave={handleMouseLeave}
        style={{
          transform: `rotateY(${mousePos.x}deg) rotateX(${mousePos.y}deg)`,
          transition: "transform 0.2s ease-out",
        }}
      >
              <div className="w-[600px] h-[400px] rounded-xl shadow-lg  transition-transform duration-500 ease-out group-hover:scale-105 bg-white/10 backdrop-blur-lg border border-green-400 flex items-center justify-center">
                  <h1 className="text-white text-7xl">3D hover effect</h1>
        </div>
      </div>
    </section>
  );
};

export default Card;
The above code defines the Card component in React, utilizing useState and useRef hooks to create a 3D hover effect. The useRef hook initializes cardRef, which references the card's DOM element. The useStatehook, mousePos, manages the card's rotation angles based on mouse movement.
handleMouseMove calculates the mouse's position relative to the card's bounding rectangle. The x and yvalues are computed to determine how far the cursor is from the card's center, normalized between -1 and 1, and then multiplied by 15 to control the intensity of the effect. This data updates mousePos, which dynamically adjusts the card's CSS transform property to create a smooth 3D tilt effect.
When the mouse leaves the card area, handleMouseLeave resets the rotation angles to 0, returning the card to its original position. The card itself is styled with Tailwind CSS classes, providing dimensions, rounded corners, shadows, and a blur effect. The text inside the card is centered using flex utilities. The "use client" directive ensures that this component runs on the client side, enabling interactivity and dynamic visual effects like the hover transformation.
Tip : You can adjust the intensity of the hover effect by changing the value -> 15 in, setMousePos({ x: x * 15, y: y * 15 });
✯ You can also change the styles to suit your preferences.
Here's the code for the page.jsx .
import Card from "@/app/components/Card";

const Blogs = () => {
  return (
    <section className="flex flex-col items-center">
      <div>
          <Card />
      </div>
    </section>
  );
};

export default Blogs;
You've reached the end of the article. I hope you found the information valuable and learned something new along the way. If you have any questions or need further clarification on any of the topics discussed, please don't hesitate to reach out. Additionally, feel free to explore other articles on my site to continue expanding your knowledge. Thank you for taking the time to read.
I will look forward to sharing more insights with you in future articles. Happy Coding 😊!!!